Download Simple:Press From www.simple-press.com
Well, not much more to add…visit www.simple-press.com and download the latest version of Simple:Press.
Upload the Simple:Press Plugin
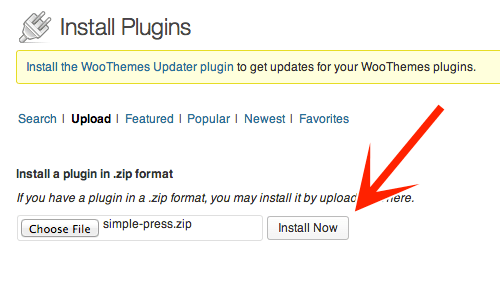
Manual Upload: Unzip the downloaded file and then upload the resulting Simple:Press folder to your WordPress installation. By default, WordPress stores plugins in the /wp-content/plugins/ folder. The ‘ simple-press‘ plugin folder must be copied to this location. Upload Via WordPress: Install the plugin using the WordPress plugin install feature. To do this click on the ‘Plugins’ tab in your WordPress Admin area. From there click the ‘Add New’ button and upload the Simple:Press .zip file.
Activate Simple:Press
Simple:Press should now appear in your plugins list in the WordPress administration so go ahead and activate the plugin. Unlike most plugins, activation is only the first step. Nothing is created at this point. Simple:Press requires installation – a process that creates the tables and default data the forum requires. You may load the install page from the plugin entry by clicking on the ‘ Install‘ link. Alternatively, you can navigate to the new ‘ Forum‘ menu. This will appear beneath the WordPress ‘comments’ menu. At this point the only menu option available will be to install the plugin.
Install
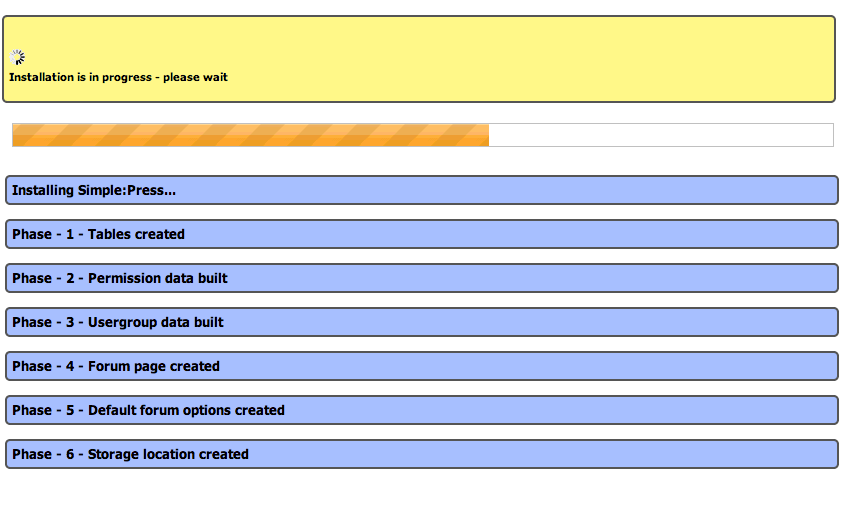
Selecting the menu item will present the installation page. Click on the ‘ Install‘ button to start the process. This may take a few minutes. During the install, all of the forum tables are created, the option and setting records are initialized, the WordPress ‘page’ is built that will display the forum and your current registered users (if you have any) will have their forum members data built.
Configure
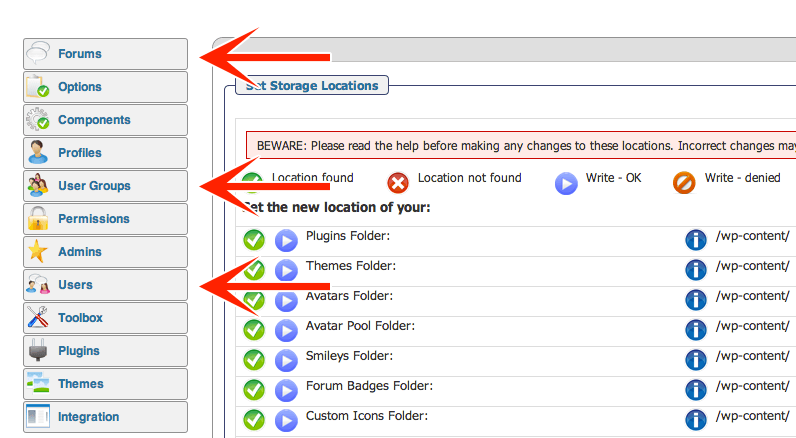
Next configure your forum. This can include setting up forums, user groups, admins, guests, profiles, etc.
For a more in depth description on Simple:Press features and how to use them click here.